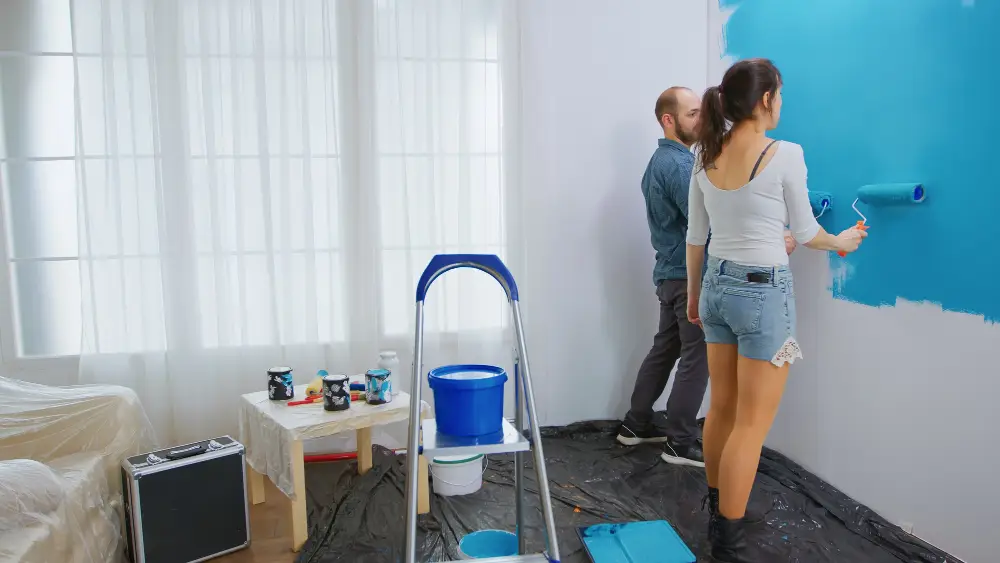
Paint is the finish line of every renovation, and it is also where a lot of renovations stumble a foot from the tape. Fresh drywall, new trim, patched transitions between old walls and new, and rooms full of just-installed finishes all make post-renovation painting a different job than repainting a lived-in room, and the painting after renovation tips that matter most are the ones almost nobody outside the trades knows. New drywall drinks paint differently than old walls. Joint compound flashes through finish coats when it is not primed. Fresh trim and caulk need cure time, renovation dust ruins finishes from the air, and the color that looked right in the store reads differently against brand-new flooring. This guide walks through the full sequence, from surface prep through the final coat, with the timing, products, costs, and mistakes to avoid so the last step of your renovation looks like the best one.
The Problem: New Surfaces Do Not Paint Like Old Ones
The core issue is porosity. Fresh drywall paper and joint compound absorb paint at different rates, and when finish paint goes straight onto them, the joints and patches show through as dull or shiny stripes under any angled light, a defect painters call flashing. It cannot be fixed with more topcoats, only with the primer coat that should have come first. Renovations multiply the problem, since most projects create a patchwork of new drywall, skim-coated repairs, and original painted surfaces in the same room, each absorbing differently.
Timing compounds it. Joint compound, fresh caulk, and new wood trim all carry moisture that needs to leave before paint locks it in, and painting too early causes cracking, poor adhesion, and caulk lines that split within months. Add construction dust still settling from the air onto wet paint, and the case for treating post-renovation painting as its own discipline, with its own sequence, makes itself. The good news is the sequence is simple once laid out.
[TRUST BADGES: licensed and insured, drywall and painting services, renovation finishing experience]
Get the Surfaces Ready Before Any Paint Opens
Preparation decides the result before the first coat.
Let Everything Dry & Cure
Joint compound needs to be fully dry through its depth, not just surface-dry, which takes 24 hours per coat in good conditions and longer in humidity. Fresh caulk needs its stated cure time before painting, typically 24 hours for painter’s caulk. New interior trim should acclimate to the house before installation and painting, since wood that swells or shrinks after painting opens joints and cracks finishes.
Kill the Dust First
Renovation dust is the enemy of every finish. Vacuum walls, ceilings, and trim with a brush attachment, wipe surfaces with a barely damp cloth, and clean the floors so foot traffic does not stir dust back up during painting. Change the furnace filter and keep HVAC returns covered in the work area, because a system full of drywall dust will redistribute it onto wet paint for weeks.
Sand & Inspect Under Raking Light
Hold a work light at a low angle against every wall and the flaws jump out: ridges at joints, roller stipple in patches, compound splatter. Sand them now with fine grit, because primer and paint magnify texture differences rather than hiding them.
Prime Like the Project Depends on It, Because It Does
Priming is the step renovations cannot skip, and the product choice matters.
New Drywall Gets Drywall Primer
Fresh drywall and joint compound need a dedicated drywall primer-sealer, which equalizes porosity across paper and compound so the finish coats lay down uniformly. Paint-and-primer-in-one products are formulated for repaints over sound existing paint, not for raw drywall, and using them on new surfaces is the number one cause of flashing in renovated rooms.
Stains & Woods Get Stain-Blocking Primer
Water stains from the construction process, knots in new trim, and any surface that saw smoke or odor need a stain-blocking primer, since ordinary primer lets these bleed through every topcoat. Patched areas on existing walls get spot-primed at minimum, with a full prime coat producing the most uniform result in rooms that mix old and new surfaces.
Choose Colors & Sheens Against the New Finishes
A renovation changes everything the paint sits next to, which resets the color decision.
Sample on the Actual Walls
The flooring, cabinets, counters, and lighting are all new, and paint reads against its neighbors. Buy sample pots, paint large swatches on two or three walls, and watch them morning, midday, and night under the new lighting before committing. Warm neutrals dominate current renovation palettes for good reason, since they tie together the wood tones and mixed lighting that renovated spaces feature.
Match Sheen to Surface
Matte and eggshell hide the minor texture variations that even well-finished new drywall carries, which makes them the wall standard for renovated rooms. Satin serves trim, doors, and cabinetry with durability and a softer look than semi-gloss. Kitchens and baths take scrubbable formulas, and most major brands now offer washable mattes that end the old durability trade-off.
[BEFORE/AFTER GALLERY: renovated room at primed stage, then fully painted with trim and finishes complete]
Sequence the Painting Into the Renovation Correctly
Where painting falls in the project order determines how clean the result stays. The standard sequence runs: prime and first-coat walls and ceilings after drywall finishing, then install flooring and trim, then caulk and finish-coat trim, then apply the final wall coat, and finish with touch-ups after the last trade leaves. This order protects new floors from the heaviest paint work while accepting that minor touch-up is part of the plan.
Ventilation belongs in the plan too. Fresh paint cures best with air movement and moderate temperatures, so run fans, crack windows in decent weather, and give rooms a few days of cure before hanging art or scrubbing walls. Keep labeled leftover paint from every color for the touch-ups that renovation settling will eventually request, since houses move in their first year after major work and hairline drywall cracks at seams are normal, not defects.
What Post-Renovation Painting Costs
Painting is one of the smaller renovation line items, and the prep-heavy nature of new-surface work shapes the pricing.
| Painting Scope | Typical Cost Range | Notes |
| New drywall prime and two coats | $2 to $4 per sq ft of wall | The renovation standard |
| Single renovated room, complete | $700 to $1,600 | Walls, ceiling, trim, closet |
| Whole renovated home (2,000 sq ft) | $5,000 to $12,000 | Volume pricing, spray-capable |
| Trim and door package per room | $250 to $600 | Caulk, prime, two enamel coats |
| Stain-blocking primer upcharge | $0.30 to $0.60 per sq ft | Where stains or knots exist |
| DIY materials, single room | $150 to $350 | Primer, paint, sundries |
| Fixing flashing after skipped primer | $500 to $1,200 per room | Re-prime and repaint, the avoidable cost |
The last row is this article in one line: the primer that prevents flashing costs a fraction of the repaint that fixes it.
[FINANCING CTA BANNER: bundle professional painting into your renovation financing]
Frequently Asked Questions
How long after renovation should I wait to paint?
Paint can begin as soon as joint compound is fully dry, typically 24 hours after the final coat in good conditions, and after fresh caulk has cured. The bigger timing question is sequence: prime and first-coat before flooring and trim install, finish coats after, touch-ups last.
Do new drywall walls really need primer?
Yes, without exception. New drywall paper and joint compound absorb paint at different rates, and finish paint applied directly shows every joint and patch as flashing under angled light. A dedicated drywall primer-sealer equalizes the surface, and no number of topcoats substitutes for it.
What paint sheen is best after a renovation?
Matte or eggshell on walls, since low sheen hides the minor texture variation new drywall carries. Satin on trim and doors, and scrubbable formulas in kitchens and baths. Higher sheens telegraph every imperfection on new surfaces, which is the opposite of what a fresh renovation deserves.
Should I paint before or after new flooring goes in?
Prime and first-coat before flooring, final coats and trim work after, with a touch-up pass at the very end. This protects the new floors from the messiest painting stages while accepting minor touch-ups as part of the sequence rather than a failure.
Why is my new paint cracking at the drywall seams?
Hairline cracks at seams in the first year usually come from the house settling after major work and from framing lumber drying, not from paint failure. Caulk or re-tape the line, spot-prime, and touch up with the leftover paint. Cracks that keep growing deserve a look at what is behind them.
Related Reading & Services
- Drywall & Painting services
- [Top Home Renovation Paint Trends for Renovated Homes](INTERNAL LINK: paint trends blog)
- [Whole Home Renovation Checklist for Homeowners](INTERNAL LINK: whole home renovation checklist blog)
- Kitchen Remodeling services
[REVIEW SNIPPET: homeowner quote about flawless walls and finish work at the end of a renovation, with first name and town]
Finish Strong on the Last Coat
Every renovation is judged by its surfaces, and the painting phase is where months of work either shine or show their seams. Prep the new surfaces, prime without shortcuts, sequence the coats around the other trades, and the final walkthrough becomes the best part of the project. If your renovation in Pekin, East Peoria, Morton, Washington, or the surrounding Central Illinois area deserves finish work that matches the investment behind it, our team handles drywall, priming, and painting as one continuous standard. Request your free estimate or call (309) 241-9593 to talk through your project.