Grace Built Construction provides full-service bathroom remodeling for homeowners in Pekin, IL, and the surrounding Central Illinois communities. A bathroom remodel replaces or reconfigures the fixtures, surfaces, plumbing, and electrical systems of a bathroom to improve function, safety, and appearance. Our team handles every phase in-house — design, demolition, plumbing, electrical, tile, carpentry, and finishing — so one contractor manages your entire project from the first consultation to the final walkthrough.
This page covers the main decisions in a bathroom renovation: showers and tubs, vanities and storage, tile and flooring, lighting, ventilation, accessible design, small-bathroom layouts, project phases, and cost ranges. For detailed pricing breakdowns, see our bathroom remodel cost guide for Pekin homeowners.
A full bathroom remodel includes demolition of existing fixtures and surfaces, plumbing rough-in and fixture installation, electrical updates for lighting and ventilation, waterproofing of wet areas, tile and flooring installation, vanity and storage installation, and final finishes such as paint, mirrors, and hardware. A partial remodel updates only selected elements, such as fixtures or tile, while leaving the layout and plumbing in place.
Most homeowners in the Pekin area choose a full remodel when the bathroom has outdated plumbing, water damage, poor layout, or finishes that no longer meet the household’s needs. A partial update makes sense when the layout works and the plumbing is sound. During the consultation, we assess the condition of the existing plumbing, subfloor, and ventilation before recommending a scope. This assessment prevents surprises once demolition begins.
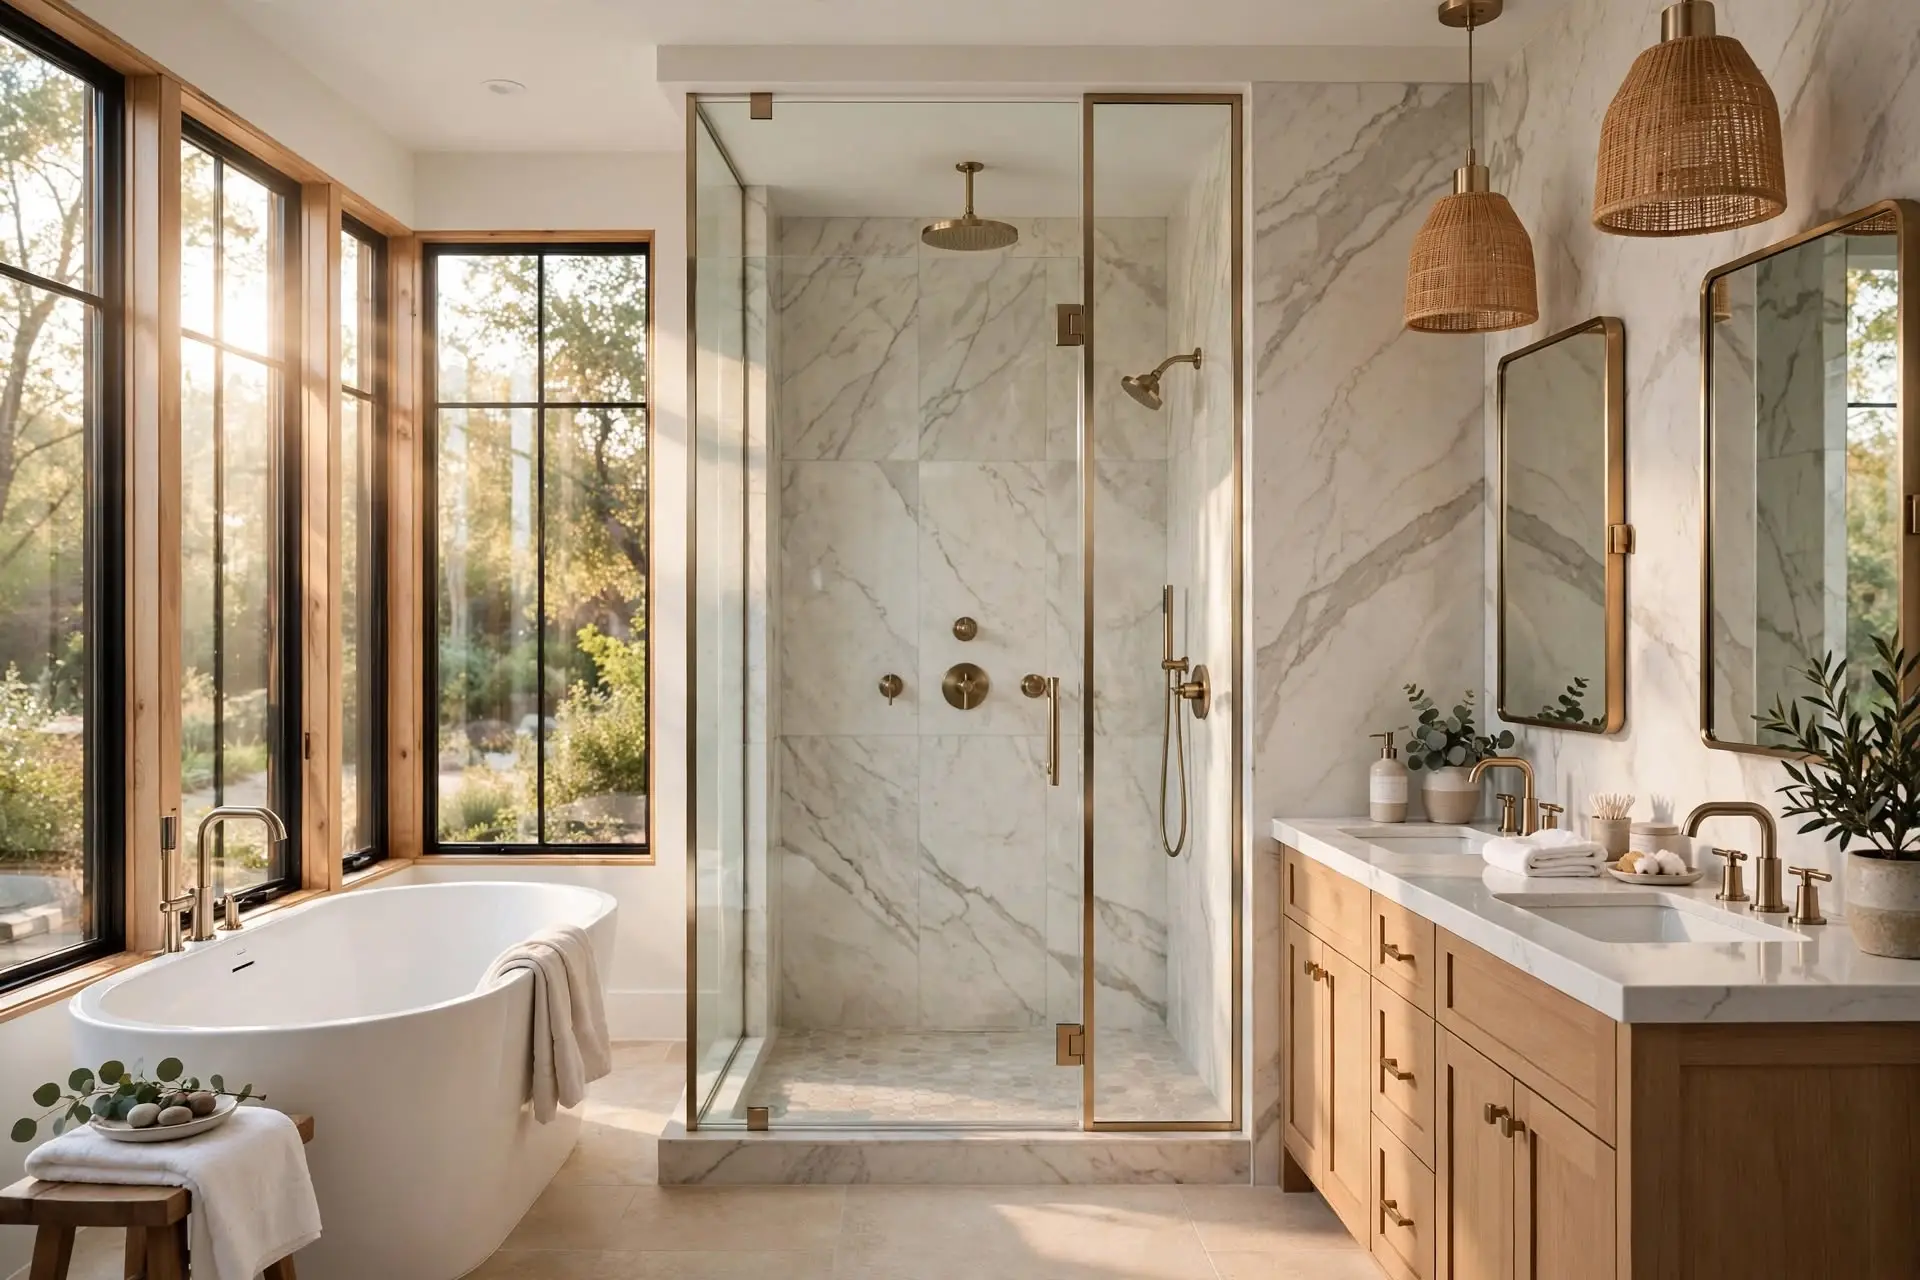
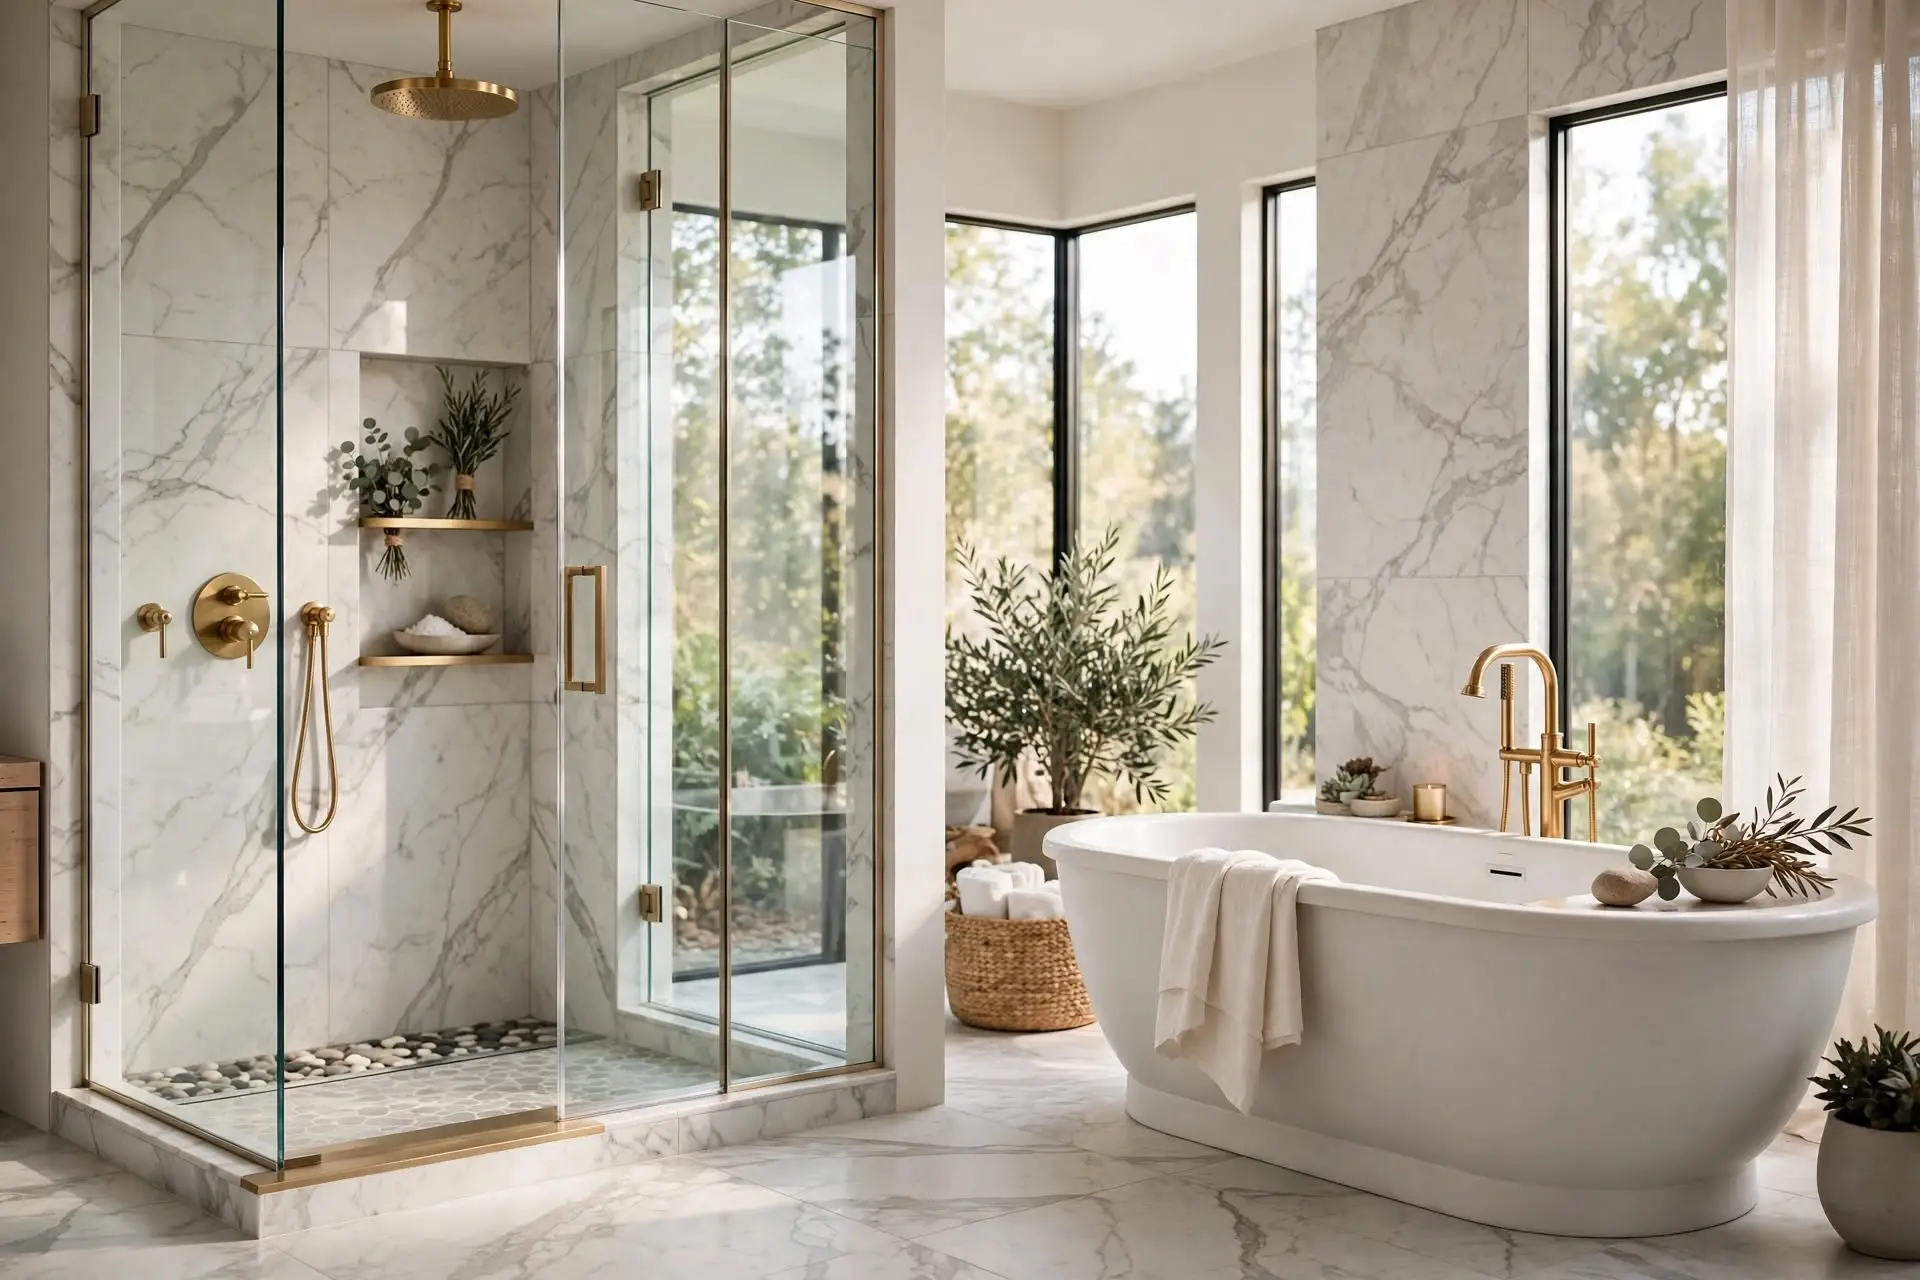
The four main shower and tub configurations are walk-in showers, tub-to-shower conversions, tub-shower combinations, and freestanding soaking tubs. A walk-in shower is a shower enclosure without a tub basin, entered directly at floor level or over a low curb. A tub-to-shower conversion removes an existing bathtub and replaces it with a shower in the same footprint. A tub-shower combination keeps a tub basin with a showerhead above it. A freestanding soaking tub is a standalone tub, deeper than a standard alcove tub, placed away from the walls.
Walk-in showers suit households that rarely use a tub and want easier entry and more floor space. Curbless walk-in showers — where the shower floor sits flush with the bathroom floor — remove the step-over barrier entirely and are the standard choice for accessible design. Tub-to-shower conversions are common in Pekin-area ranch homes where the original tub no longer fits the household. Families with young children often keep at least one tub in the home, which makes the tub-shower combination the practical choice for a hall bathroom. Freestanding soaking tubs work in primary suites with enough floor area; they require a freestanding tub filler and a floor drain rough-in at the tub location.
Every shower we build starts with waterproofing. Cement backer board alone is not waterproof — it must be covered with a waterproofing membrane or paired with a sealed shower system before tile goes on. Drainage slope, niche placement, and valve height are set during the rough-in phase, before any tile is installed. Getting these details right in the rough-in stage is what separates a shower that lasts decades from one that develops leaks.
Helpful guides: Bathroom Remodel Planning Checklist | Master Bathroom Luxury Upgrade Features
Related services: Basement Finishing
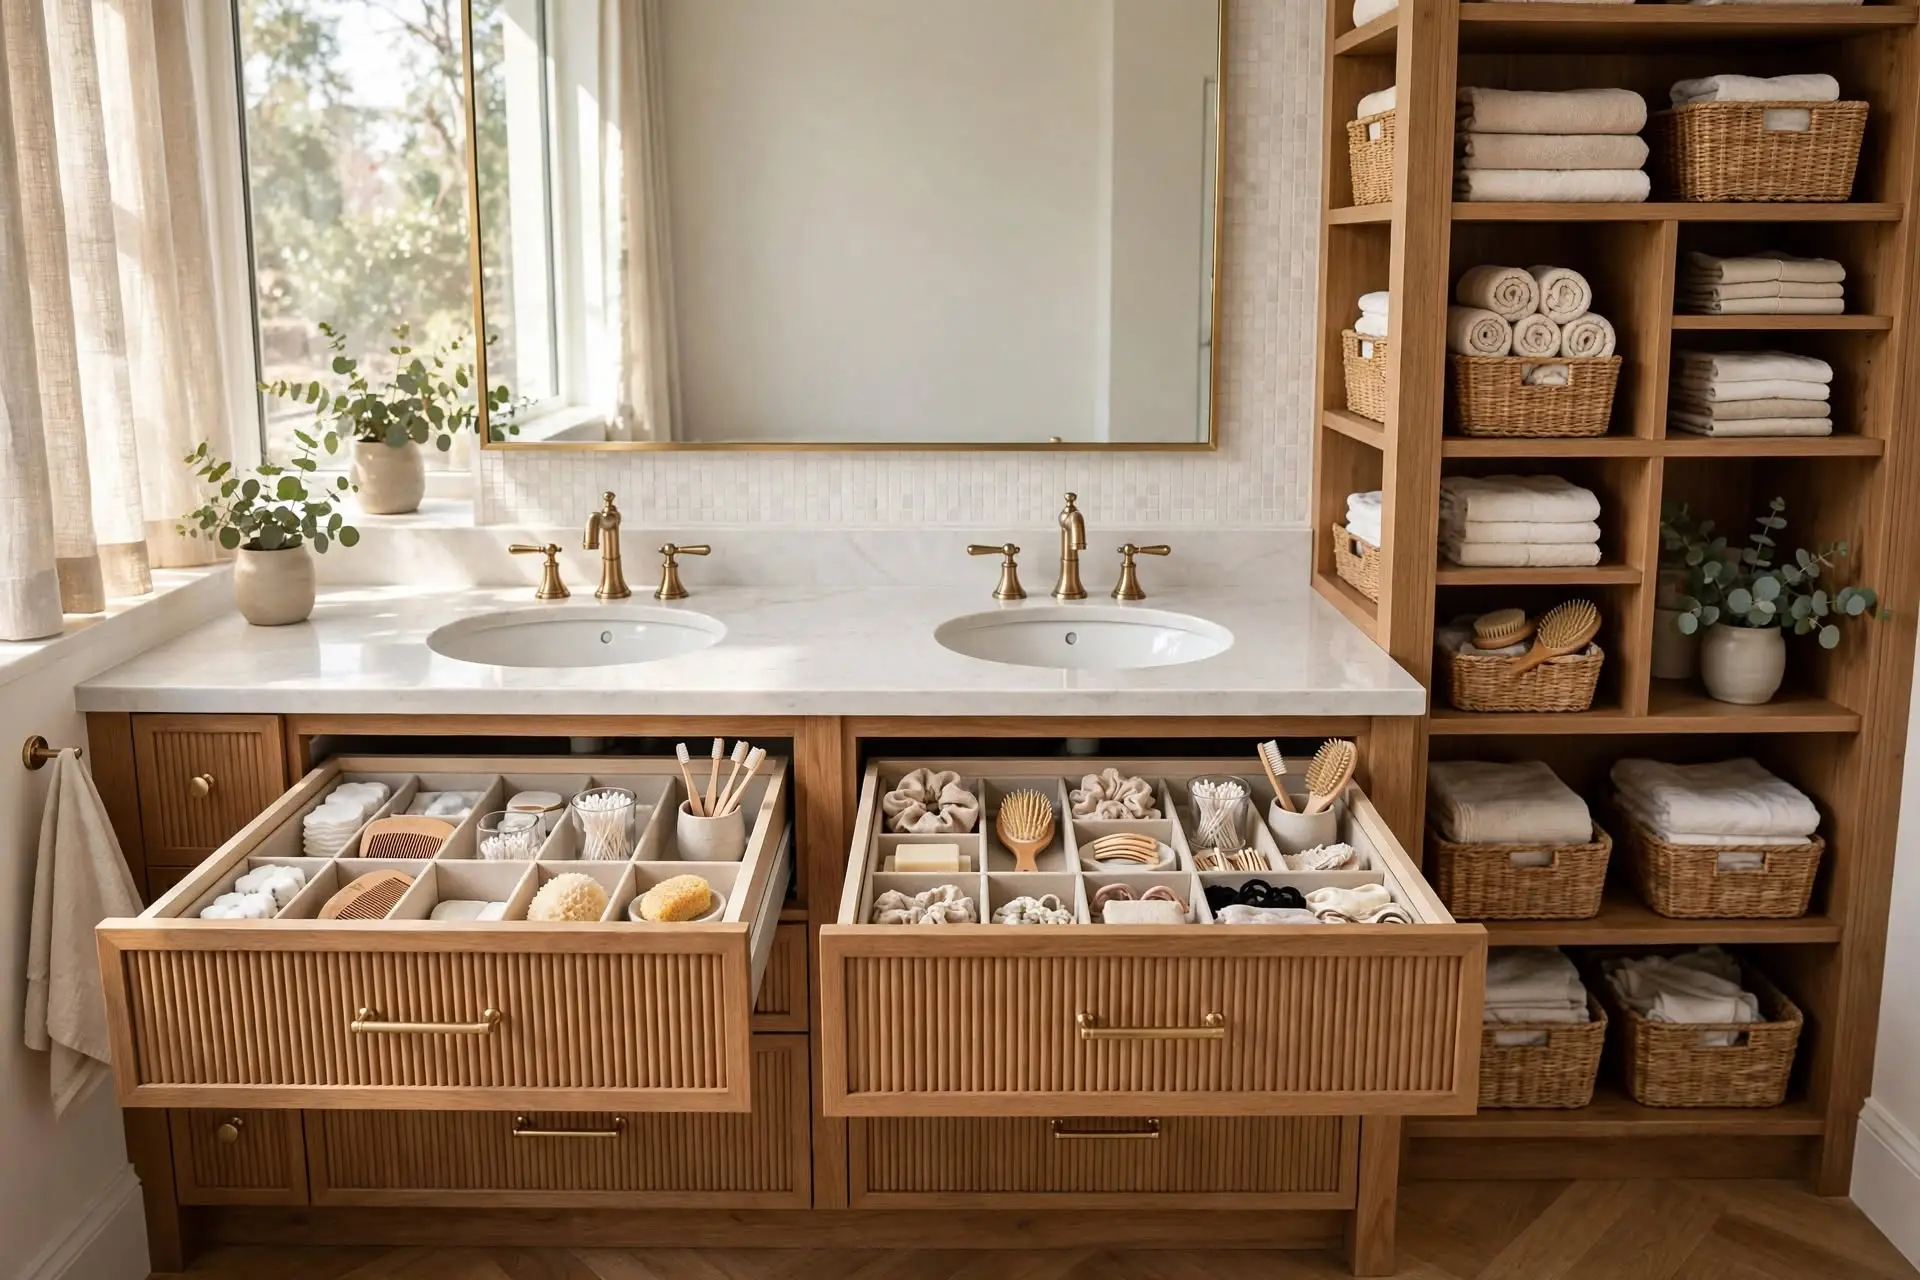
A bathroom vanity is the cabinet-and-sink unit that anchors the bathroom. Vanity selection starts with three measurements: the available wall width, the plumbing location, and the clearance needed for the door swing. Standard vanity depths run 18 to 21 inches; in tight bathrooms, a shallower profile keeps the walkway clear.
The main vanity types are freestanding, wall-mounted (floating), and double-sink configurations. Freestanding vanities sit on the floor and offer the most storage per dollar. Wall-mounted vanities free up floor space and simplify cleaning underneath, which helps small bathrooms feel larger. Double-sink vanities require at least 60 inches of width to give each user comfortable elbow room — anything narrower creates a cramped result.
Storage beyond the vanity includes medicine cabinets, recessed wall niches, linen towers, and over-toilet shelving. Recessed medicine cabinets add storage without projecting into the room. A linen tower beside the vanity holds towels and toiletries for the whole household. We plan storage around what the household actually keeps in the bathroom, not around catalog photos — daily-use items belong within arm’s reach of the sink and shower.
For a deeper look at vanity sizing, styles, and installation details, see our bathroom vanity buying guide. bathroom vanity buying guide
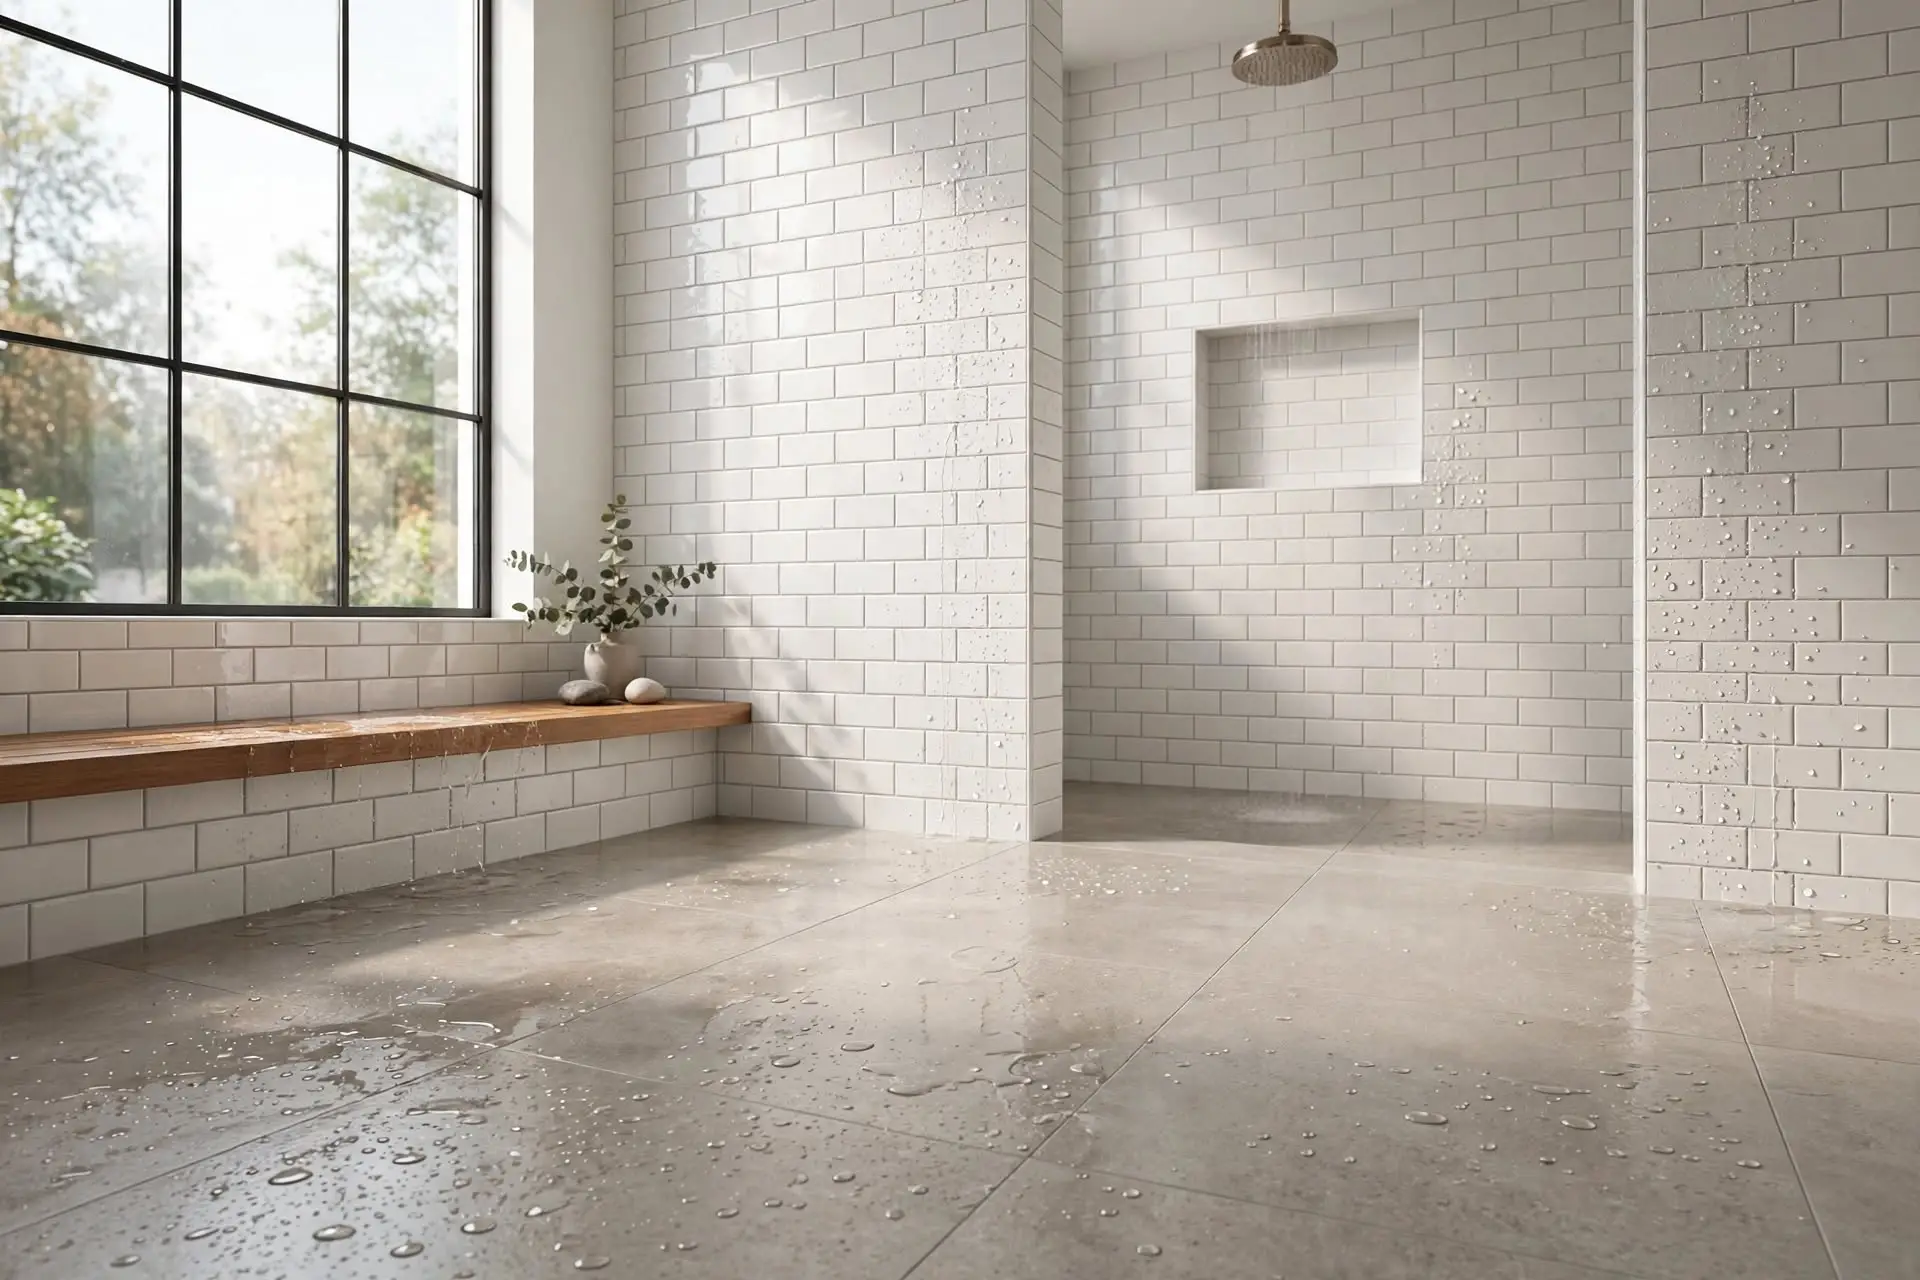
The standard bathroom flooring materials are porcelain tile, ceramic tile, natural stone, and luxury vinyl plank (LVP). Porcelain tile is the most common choice: it is dense, water-resistant, and available in wood, stone, and concrete looks. Ceramic tile costs less than porcelain and works well on walls; on floors, choose a ceramic rated for floor use. Natural stone — marble, travertine, slate — offers a distinct appearance but requires sealing and more maintenance. Luxury vinyl plank handles moisture well and feels warmer underfoot, which suits basement bathrooms and budget-conscious projects.
On shower walls, large-format porcelain reduces grout lines and simplifies cleaning. Mosaic tile works for shower floors because the many grout joints provide slip resistance. Slip resistance matters on every bathroom floor: look for tile with a textured or matte finish rather than polished gloss in wet areas.
Grout selection affects long-term maintenance. Sanded grout suits wider joints on floors; unsanded grout suits narrow wall joints. Epoxy grout resists staining and moisture better than cement grout and is worth considering in showers. We set tile over properly prepared substrates — uncoupling membrane on floors, waterproofed backer on shower walls — because tile failures almost always trace back to substrate preparation, not the tile itself.
Bathroom lighting uses three layers: task lighting, ambient lighting, and accent lighting. Task lighting illuminates specific activities, mainly grooming at the mirror. Ambient lighting provides general illumination for the whole room. Accent lighting highlights architectural features or adds atmosphere.
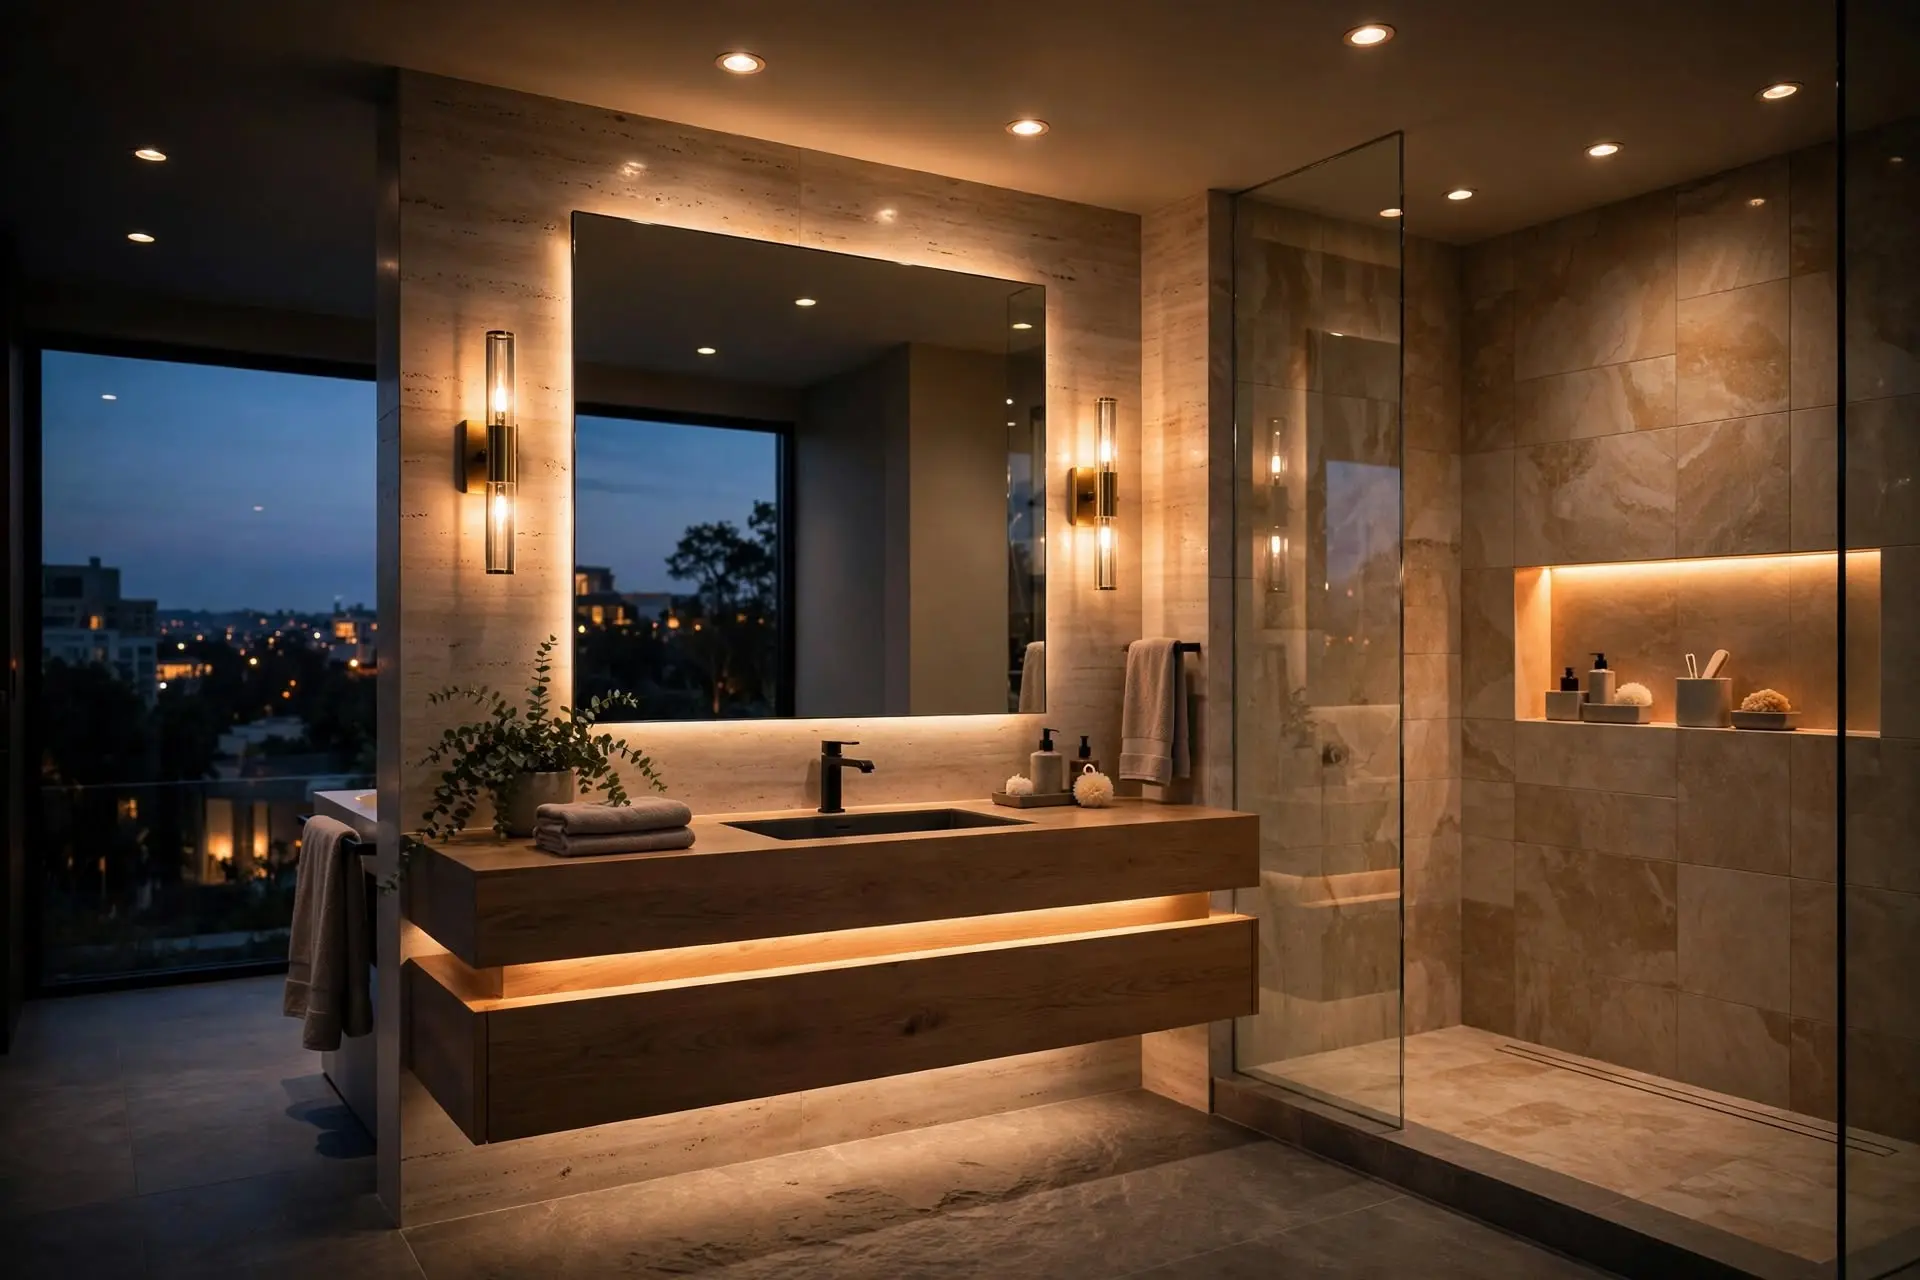
At the mirror, place sconces or vertical fixtures at eye level on both sides of the mirror rather than a single bar above it. Side lighting eliminates the harsh shadows that overhead-only lighting casts on the face. For the room, recessed ceiling lights on a dimmer provide adjustable ambient light. A dedicated light over the shower or tub — rated for wet locations — is required by code in most cases and improves safety.
Color temperature affects how the bathroom feels and how accurate grooming looks. A neutral white in the 3000K to 3500K range renders skin tones accurately without feeling cold. Dimmer switches on the main lights let one bathroom serve both bright morning routines and low evening light. Every fixture we install is rated for its location — damp-rated for general bathroom use, wet-rated inside shower enclosures.
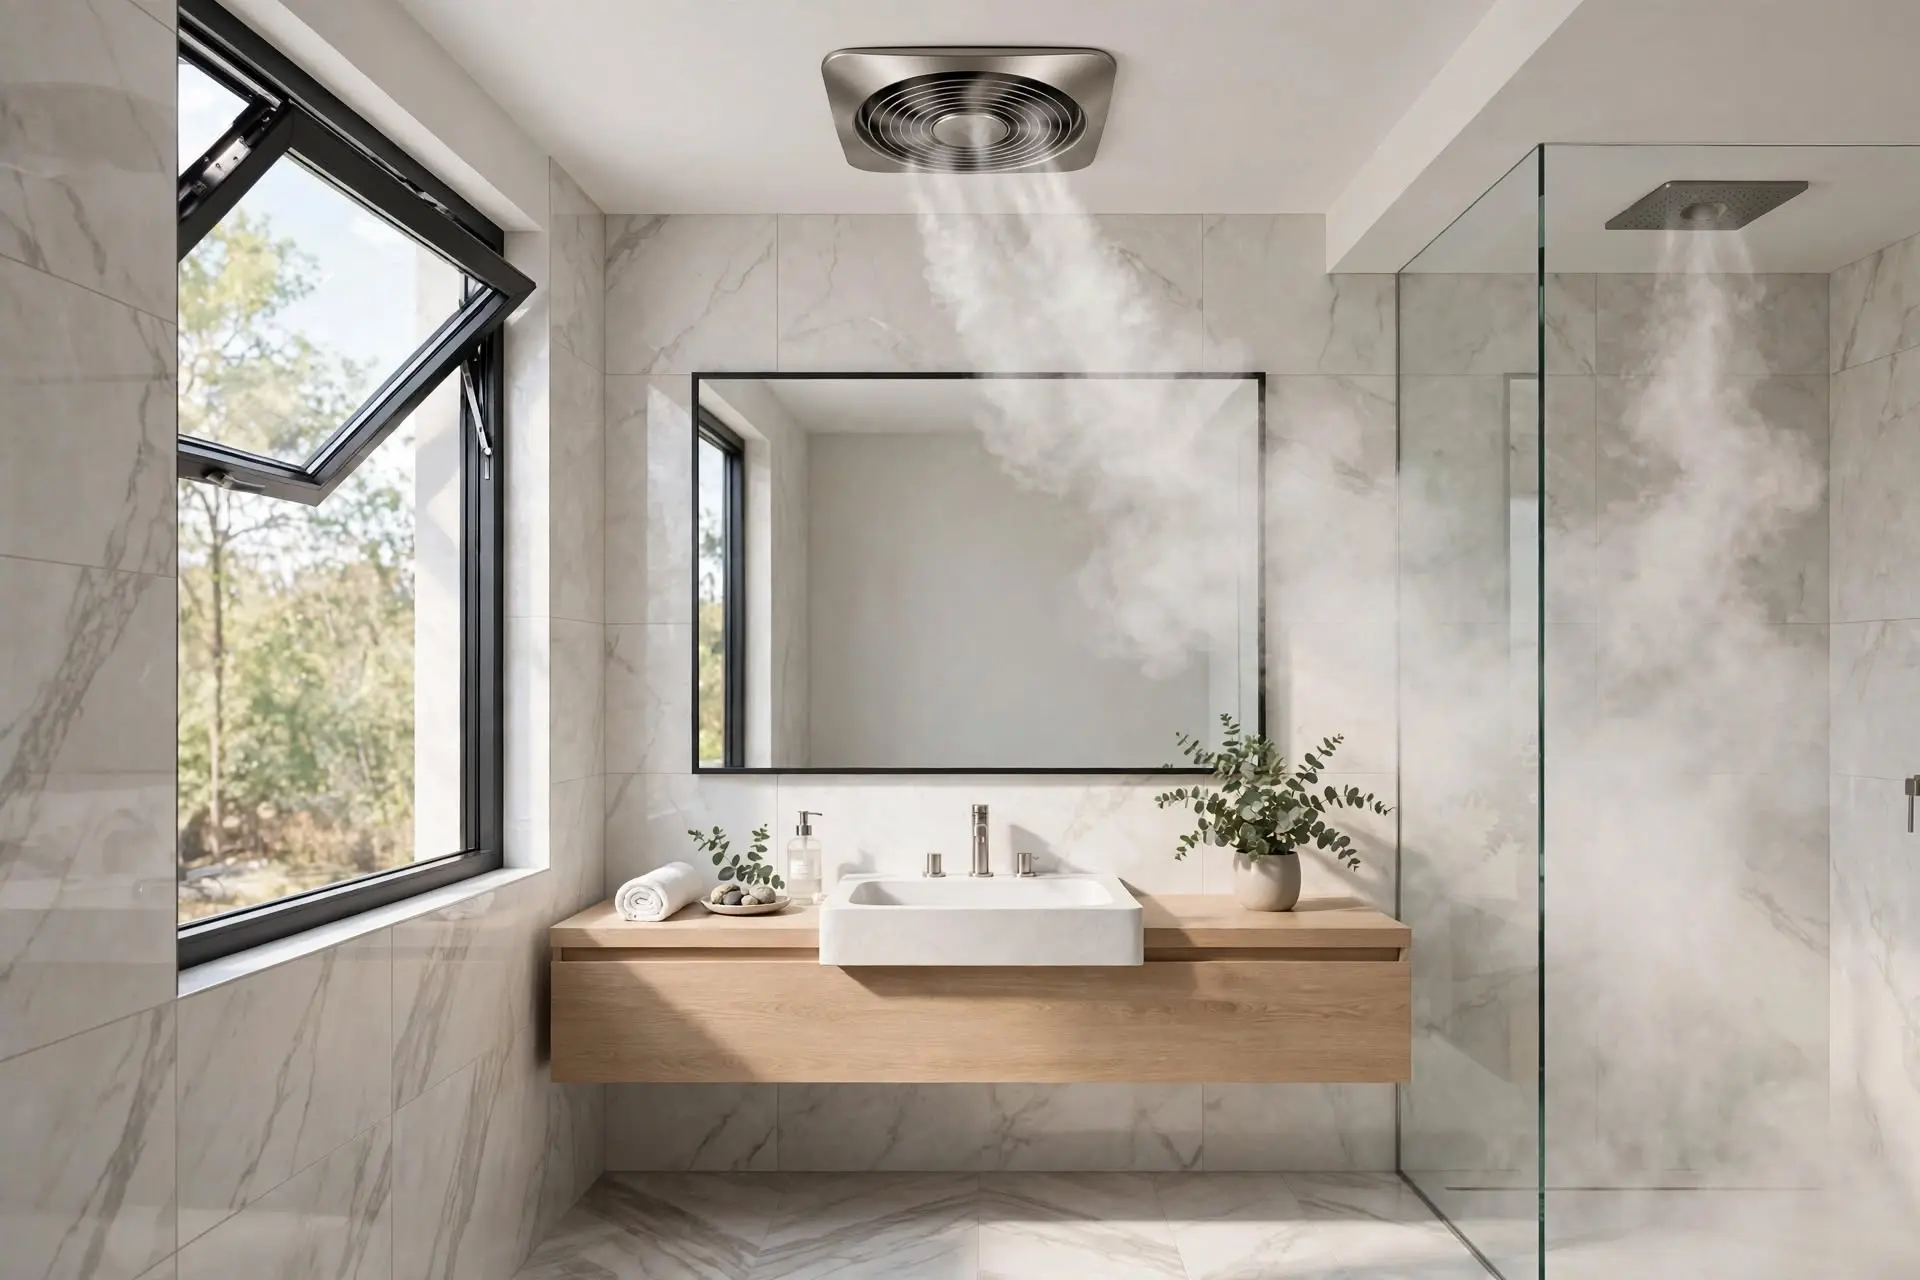
Bathroom ventilation removes moisture-laden air before it condenses on walls, ceilings, and fixtures. Without adequate ventilation, moisture feeds mold growth, peels paint, swells wood trim, and degrades drywall. Ventilation is moisture control, not odor control — though it handles both.
An exhaust fan should be sized to the bathroom: the general rule is one cubic foot per minute (CFM) of airflow per square foot of floor area, with a minimum that covers the room’s volume. The fan must vent to the exterior of the home — through the roof or a gable wall — never into the attic, where the moisture simply relocates the problem. A humidity-sensing switch or timer lets the fan run long enough after a shower to clear residual moisture; a fan switched off the moment someone leaves the bathroom does only part of the job.
We install a properly sized, exterior-vented exhaust fan as part of every bathroom remodel. If the existing bathroom has no fan or a fan venting into the attic, correcting that is one of the highest-value changes in the project.
Aging-in-place bathroom design adapts the bathroom so it stays safe and usable as household members age or face mobility changes. The core features are a curbless shower, grab bars, a comfort-height toilet, and slip-resistant flooring. A curbless shower has no raised threshold at the entry, removing the step-over barrier. Grab bars are anchored to wall blocking — not just drywall — at the toilet, shower entry, and inside the shower. A comfort-height toilet sits two to three inches higher than a standard toilet, easing sitting and standing.
These features do not make a bathroom look institutional. Grab bars now come in finishes that match standard bath hardware. Curbless showers with linear drains read as modern design, not medical equipment. Planning blocking inside the walls during the remodel — even if grab bars are not installed immediately — costs little during construction and avoids opening finished walls later.
Aging-in-place features also serve households with temporary injuries, post-surgery recovery, or visiting elderly parents. Designing for the widest range of users from the start is less expensive than retrofitting later. For detailed planning guidance, see our aging-in-place bathroom remodeling tips. aging-in-place bathroom remodeling tips

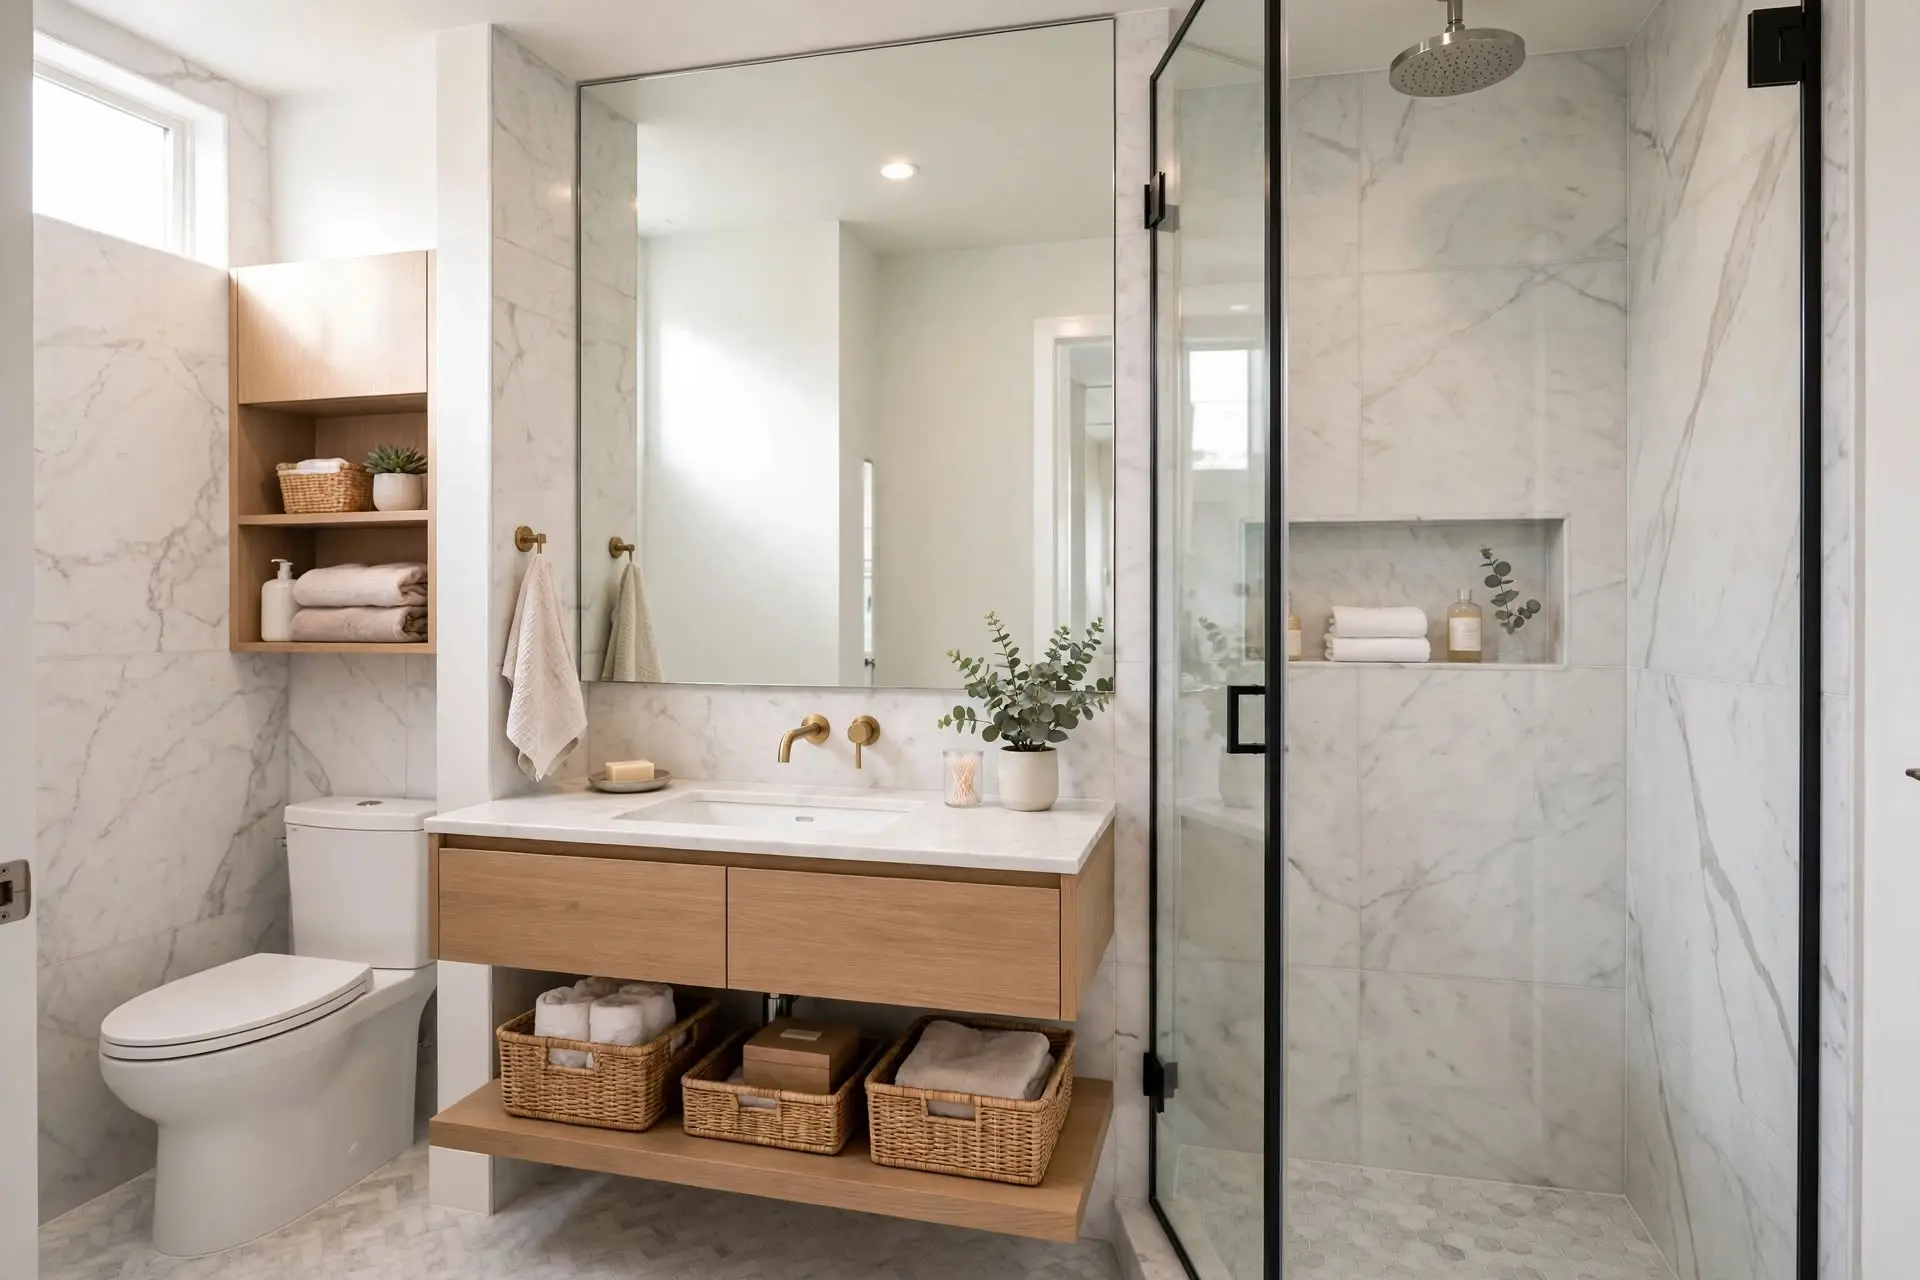
Small-bathroom remodeling maximizes usable space through fixture selection, storage placement, and visual techniques. The standard moves: a wall-mounted or pedestal-style vanity to free floor area, a recessed medicine cabinet instead of a surface-mounted mirror, a walk-in shower in place of a tub where the household allows it, and large-format light-colored tile to visually expand the room.
Layout changes deliver the biggest gains. Moving the toilet or vanity a few inches can open the clearances required by code and make the room feel significantly larger. Pocket doors replace swing doors and reclaim the floor area the door arc consumed. Recessed niches in the shower wall and above the toilet add storage without reducing floor space.
Lighting and color complete the effect. Bright, layered lighting eliminates the dark corners that make small rooms feel smaller. A continuous floor tile run — same tile from the main floor into the shower — removes visual breaks and extends the perceived space. For a full set of small-bathroom strategies, see our small bathroom remodel ideas. small bathroom remodel ideas
A bathroom remodel follows seven phases: design and material selection, demolition, plumbing and electrical rough-in, waterproofing and substrate preparation, tile and flooring installation, fixture and vanity installation, and final finishes with walkthrough.
1
finalizes the layout, fixtures, tile, vanity, lighting, and finishes before work begins. Ordering materials upfront prevents mid-project delays.
2
removes existing fixtures, tile, and surfaces down to the studs where needed. This phase reveals the true condition of the plumbing, subfloor, and framing.
3
relocates or installs supply lines, drains, valves, wiring, lighting boxes, and ventilation ducting. Inspections typically occur after rough-in.
4
applies waterproofing membranes to shower areas, installs cement backer board, and levels floors. This phase determines the long-term durability of the wet areas.
5
sets wall tile, shower tile, and floor surfaces, followed by grouting.
6
sets the toilet, vanity, faucets, shower trim, mirrors, and lighting fixtures.
7
covers paint, caulk, hardware, and a detailed walkthrough where every fixture is tested and any touch-ups are noted.
A typical hall bathroom takes two to four weeks from demolition to completion; primary suites with layout changes take longer. The schedule depends on material lead times and whether plumbing moves. We provide a written timeline before construction starts and update it if conditions found during demolition require adjustments.
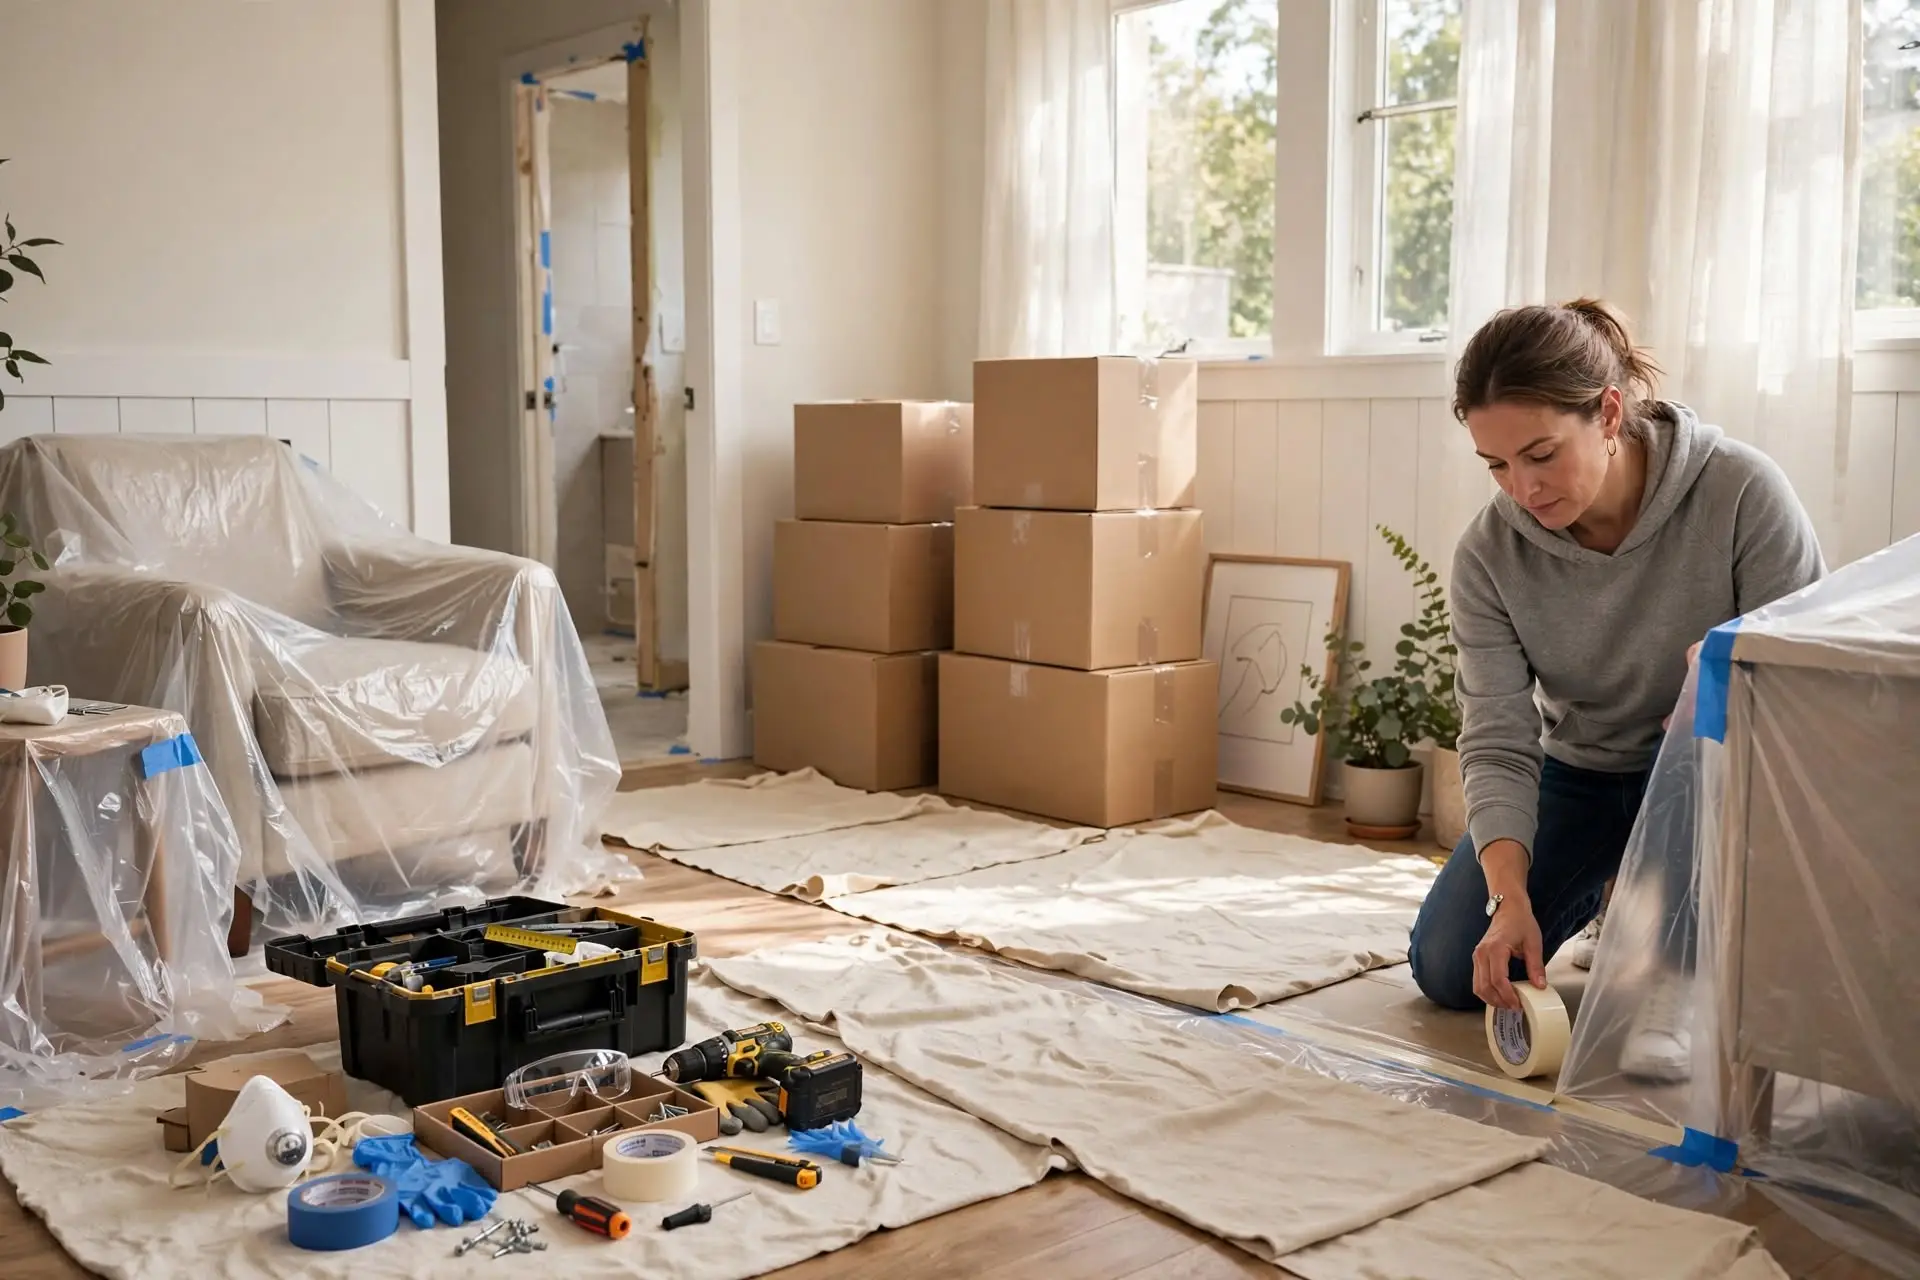
Preparing for a bathroom remodel means clearing the work area, protecting adjacent rooms, and planning daily routines around the construction schedule. Remove all personal items, toiletries, and wall decor from the bathroom before demolition day. Clear a path from the entry door to the bathroom for workers carrying materials and debris.
If the home has only one bathroom, plan alternative arrangements for the project’s duration — a neighbor’s bathroom, a gym membership, or a temporary schedule adjustment. We seal off the work area with dust barriers and run air scrubbers during demolition and drywall work, but some dust and noise are unavoidable. Pets should be kept away from the work zone for their safety.
Material decisions must be finalized before construction starts. Change orders mid-project — swapping tile or fixtures after rough-in — cause the most common and most expensive delays in bathroom remodeling. During the design phase, we confirm every selection in writing: tile, grout color, vanity, faucets, lighting, mirror, paint, and hardware. With selections locked, the project moves through its phases without interruption.

Bathroom remodel costs in the Pekin area vary with scope. A cosmetic refresh — new fixtures, paint, and lighting with the layout unchanged — costs the least. A full hall-bathroom remodel with new tile, vanity, and fixtures falls in the middle range. A primary-suite remodel with layout changes, a walk-in shower, and upgraded materials costs the most. Most full bathroom remodels we perform in Central Illinois fall in the low five figures, with smaller projects below that and large primary suites above it.
The factors that move cost most are layout changes (moving plumbing), tile scope and material choice, shower complexity, and the condition of what demolition reveals. A bathroom with rotted subfloor or outdated galvanized plumbing costs more to renovate correctly than one with sound infrastructure — and skipping those repairs to save money creates failures that cost far more later.
For line-item pricing, material comparisons, and ways to control the budget, read our bathroom remodel cost guide for Pekin homeowners. When you are ready for numbers specific to your bathroom, request a free remodeling estimate — we measure your space and price your actual scope, not a generic average.
A bathroom remodel coordinates five or more trades: demolition, plumbing, electrical, tile, and carpentry. When a homeowner manages separate contractors, scheduling gaps and miscommunication fall on the homeowner. A single contractor sequences the trades, holds each one accountable to the schedule, and resolves conflicts between trades before they become delays.
Grace Built Construction runs bathroom projects with one in-house-coordinated team. The same project manager oversees your job from demolition through final walkthrough. You have one point of contact, one schedule, and one warranty covering the work. To start, contact Grace Built Construction or call (309) 241-9593.
We remodel bathrooms for homeowners throughout our service area, including Pekin, Peoria, East Peoria, Creve Coeur, Washington, Tremont, and Morton in Tazewell County. Local experience matters: we know the common bathroom layouts in Central Illinois ranch, split-level, and two-story homes, the plumbing configurations builders used in each era, and the permit requirements in each municipality. See our home remodeling in Pekin, IL page for more on how we serve the area.
A standard hall bathroom typically takes two to four weeks from demolition to completion. Primary suites with layout changes or custom tile work take longer. Material lead times — especially for vanities, tile, and fixtures — affect the schedule, so we finalize selections before demolition begins and provide a written timeline for your project.
Permits are generally required when a remodel involves plumbing relocations, electrical changes, or structural modifications. Cosmetic updates such as fixture swaps in existing locations typically do not. We handle the permit process for our projects and confirm requirements with the local building department before work starts.
Yes. Tub-to-shower conversions are one of our most common bathroom projects. We remove the existing tub, adjust the drain and plumbing for a shower pan or curbless entry, waterproof the enclosure, and finish it with tile. The conversion typically fits within the tub’s original footprint, so it rarely requires expanding the bathroom.
Porcelain tile is the most durable common choice — it resists water, scratches, and stains, and works on both floors and shower walls. Luxury vinyl plank is a strong alternative where warmth underfoot or budget matters, particularly in basement bathrooms. Natural stone looks distinctive but needs periodic sealing. We recommend based on your household, moisture exposure, and maintenance preferences.
Yes. Our team coordinates licensed plumbing and electrical work as part of every bathroom remodel, along with demolition, tile, carpentry, and finishing. You deal with one contractor and one schedule rather than managing multiple trades yourself. Call (309) 241-9593 to discuss your project.